Did you know that the exterior of your home can accumulate up to 40 pounds of dirt and grime every year? Over time, this buildup can not only make your house look dull and dirty but also contribute to the growth of mold and mildew. That’s where residential power washing comes in. This effective cleaning process can help restore the beauty of your home and protect it from potential damage.
Key Takeaways:
- The residential power washing process is a highly effective method for removing grime, dirt, and mold from the exterior of your home.
- Choosing the right pressure washer is crucial to ensure successful results and avoid damage to different types of housing materials.
- Before starting the power washing process, it’s important to take the necessary precautions and prepare the area to prevent any potential damage.
- Setting up the pressure washer properly, including mixing the right cleaning solution, is essential for optimal cleaning.
- When power washing, it’s best to start from the bottom and work your way up, ensuring thorough cleaning and minimal residue.
Choosing the Right Pressure Washer
Choosing the right pressure washer is crucial for a successful residential power washing process. It is important to consider factors such as the type of exterior material, the required water pressure levels, and whether to rent or buy the equipment.
Different types of housing materials, such as vinyl siding, aluminum, stucco, or soft-grain wood, require different water pressure levels. Using the wrong pressure can result in damage to the surface or ineffective cleaning. For example, delicate materials like soft-grain wood may require lower water pressure to prevent splintering, while tougher surfaces like concrete may benefit from higher pressure.
When deciding whether to rent or buy a pressure washer, it’s essential to evaluate your long-term needs. If you anticipate frequent power washing projects, purchasing your own equipment may be a more cost-effective option. On the other hand, renting can be convenient for occasional cleaning tasks.
It is also important to determine if any accessories, such as extension wands, are needed for hard-to-reach areas. These accessories can enhance the reach of the pressure washer, allowing you to tackle tall walls or upper-story windows effectively.
Following manufacturer’s recommendations is crucial, especially when using pressure washers on specific surfaces. For example, certain pressure washers may not be suitable for use on composite decks, as the high pressure can cause damage. Always read the user manual and adhere to the manufacturer’s guidelines to ensure a safe and efficient cleaning process.
“Choosing the right pressure washer is essential to achieve optimal results in your residential power washing projects. Consider the material, water pressure requirements, and whether to rent or buy the equipment to ensure effective and safe cleaning.”
Pressure Washer Comparison Table
| Pressure Washer Model | Max PSI | Price Range | Best for |
|---|---|---|---|
| Karcher K5 Premium | 2000 | $300 – $400 | Medium-sized homes with a variety of surfaces |
| Sun Joe SPX3000 | 2030 | $150 – $200 | Entry-level use on smaller residential surfaces |
| Honda PowerShot | 3200 | $500 – $700 | Heavy-duty cleaning on large properties or commercial use |
“Investing in a reliable pressure washer that suits your specific needs can make all the difference in achieving outstanding cleaning results. Compare models based on their maximum PSI, price range, and suitability for your cleaning projects.”
Preparing the Area and Put on Safety Gear
Before we begin the power washing process, it is essential to prepare the area and ensure we have the proper safety gear in place. Taking these precautions will help us maintain a clean and safe environment throughout the cleaning process.
Removing or Covering Items
In order to prevent any potential damage, it is important to remove or cover items that could be affected by the power washing. Light fixtures and air conditioner compressors should be either taken down or covered securely to protect them from the high-pressure water. This proactive step can save us from costly repairs or replacements.
Protecting Shrubs and Garden Plants
While power washing can be highly effective for cleaning the exterior of a home, it is critical to protect any shrubs or garden plants that may be in close proximity. We can use tarps or plastic coverings to shield these plants from the cleaning solutions and debris that may be carried by the water. By taking this simple step, we can ensure the health and well-being of our surrounding greenery.
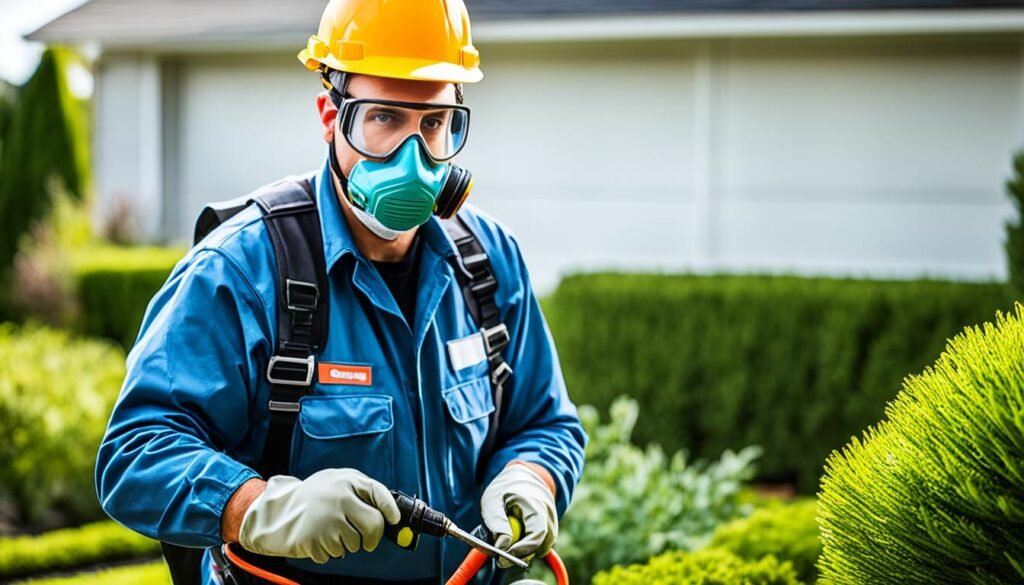
Safety Precautions
When operating a pressure washer, it is important to prioritize safety at all times. Avoid standing on a ladder while using the pressure washer, as the force of the water can cause instability. Additionally, ensure that water does not enter any gaps or cracks in the home’s exterior, as it can lead to water damage. Wearing safety goggles and work gloves will further protect us from any potential hazards that may arise during the cleaning process.
“Safety should always be a top priority when engaging in outdoor maintenance tasks. Taking the necessary precautions and using the right safety gear can help prevent accidents and ensure a successful and stress-free cleaning experience.”
| Outdoor Maintenance | Cleaning Solutions | Safety Gear |
|---|---|---|
| Prepare the area by removing or covering items that could be damaged | Use appropriate cleaning solutions to effectively clean the exterior surfaces | Wear safety goggles and work gloves for personal protection |
| Protect shrubs and garden plants with tarps or plastic coverings | Ensure the cleaning solutions are suitable for the specific materials being cleaned | Avoid standing on a ladder while operating a pressure washer |
| Take safety precautions to prevent water from entering gaps or cracks in the home’s exterior | Follow manufacturer’s instructions for diluting and using the cleaning solutions | Prevent water from splashing into the eyes by wearing safety goggles |
By following these steps, we can ensure a clean and safe power washing experience. Taking the time to prepare the area and put on the necessary safety gear will not only protect our property but also help us achieve the best possible results.
Setting Up the Pressure Washer
Now that we have covered the importance of choosing the right pressure washer, it’s time to move on to the next step in the residential power washing process: setting up the pressure washer. This crucial step ensures that we have the necessary tools and equipment in place to effectively clean the exterior of your home.
To begin, we need to mix water and a cleaning detergent with mildewcide according to the manufacturer’s recommendations. This combination will help remove grime, dirt, and even stubborn stains from your home’s exterior surfaces.
Next, we’ll need to attach the pressure washer to a garden hose. This will provide a steady flow of water to the washer, allowing it to generate the necessary pressure to clean your home effectively. Make sure to securely fasten the hose to prevent any leaks or disruptions during the cleaning process.
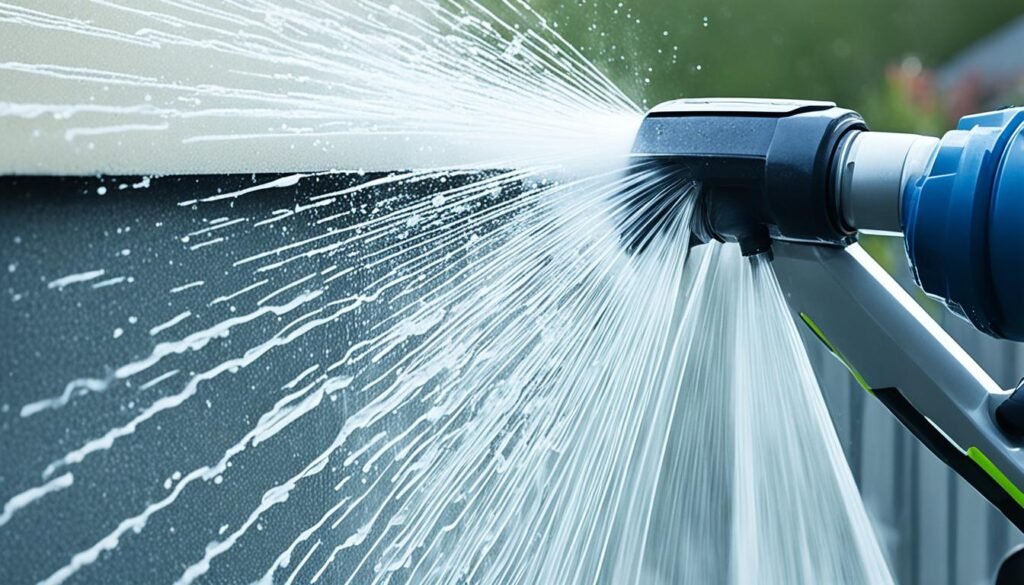
Once the hose is attached, it’s time to choose the appropriate pressure washer nozzle for the job. Different nozzles have different spray patterns and pressures, so selecting the right one is essential. Consult the user manual or seek guidance from a professional to ensure you’re using the correct nozzle for your specific needs.
After selecting the nozzle, attach it to the sprayer and ensure it is securely in place. This will allow for precise control over the water pressure and spray pattern as you clean your home’s exterior.

Before starting the actual cleaning process, it’s important to test the pressure washer against a small inconspicuous area of your home’s exterior. This will help you determine if the water pressure is strong enough to effectively remove dirt and mildew without causing any damage.
By following these steps and setting up the pressure washer correctly, you’ll be well-prepared to tackle the house washing process and achieve a clean and revitalized exterior for your home.
Cleaning From the Bottom Up
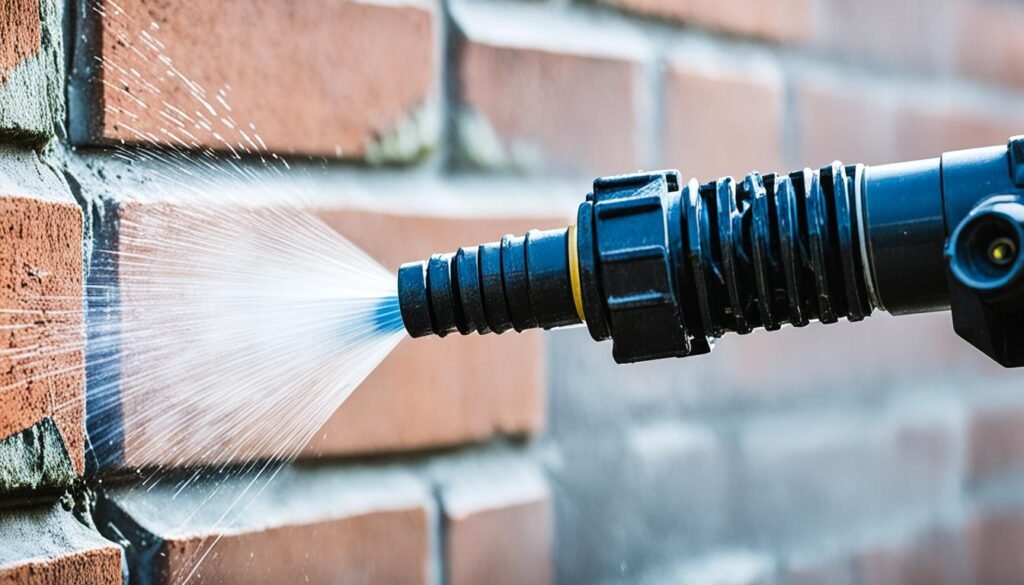
Once the pressure washer is set up, we can begin the actual cleaning process. For optimal results, we recommend starting the power washing at the bottom of the house and gradually working our way up. This approach helps prevent water and cleaning solutions from running down the side of the house and ensures that no area is missed during the cleaning process. By systematically moving upwards, we can effectively remove grime and dirt from all surfaces.
A horizontal, side-to-side motion should be used when applying the cleaning solutions with the pressure washer. This technique allows for thorough coverage and helps to break down stubborn stains and mildew. When it comes to cleaning roof overhangs and gutters, it is important to maintain a 45-degree angle while spraying to ensure proper cleaning without causing any damage.
However, it is crucial to exercise caution when power washing a home that has been painted with lead paint. In such cases, it is best to consult professional cleaning services to avoid any potential health hazards or damage to the paint. Safety should always be our top priority when handling pressure washing equipment.
Let’s proceed with the cleaning process by following these recommended steps, being mindful of safety and ensuring thorough coverage of all surfaces.
| Benefits of Cleaning From the Bottom Up | Benefits of Cleaning From the Top Down |
|---|---|
| Ensures even coverage of cleaning solutions | Allows for easy rinsing of cleaning solutions |
| Avoids streaks and drips on lower surfaces | Prevents excessive water runoff on walls and windows |
| Effectively removes dirt and grime from lower surfaces | Reduces the risk of missed areas |
Finish Up and Let Dry
Once the power washing process is complete, it is time to finish up and let the house dry. First, turn off the pressure washer and disconnect it from the garden hose. This will ensure that there is no accidental spraying or damage during the next steps.
Next, rinse the exterior of the house with plain water using just the garden hose. This will help remove any soap residue or remaining dirt that may still be on the surfaces. Be thorough and make sure to cover all areas, including windows, doors, and corners.
After rinsing, it’s important to remove any tarps, drop cloths, or duct tape that were used to protect the surrounding area during the power washing process. This will prevent any potential damage or staining from prolonged exposure.
If you are planning to paint the house, it’s crucial to allow the exterior to completely dry before starting the painting process. This usually takes about two days, depending on weather conditions. By allowing the house to dry properly, you ensure that the paint will adhere correctly and result in a long-lasting finish.
By following these final steps, you can complete the residential power washing process and achieve a sparkling clean result. The finish-up and drying stage is crucial for maintaining the cleanliness and durability of the house’s exterior. Regular outdoor maintenance, including house washing, will not only improve your home’s curb appeal but also prolong its lifespan.
FAQ
Q: What is power washing?
A: Power washing is the process of using a pressure washer to spray water at high pressure onto the surfaces of a residential home to remove grime, dirt, and mold.
Q: Which pressure washer is right for my home?
A: The right pressure washer depends on factors such as the type of exterior material, the required water pressure levels, and whether to rent or buy the equipment. Different materials require different water pressure levels, and it’s important to follow manufacturer’s recommendations for wooden decks.
Q: How do I prepare the area before power washing?
A: Before power washing, it’s necessary to remove or cover items that could be damaged, such as light fixtures and air conditioner compressors. Shrubs and garden plants should be protected with tarps or plastic coverings. Safety precautions should be taken, and appropriate safety gear should be worn.
Q: How do I set up the pressure washer?
A: Setting up the pressure washer involves mixing water and a cleaning detergent with mildewcide according to the manufacturer’s recommendations. The pressure washer should be attached to a garden hose, and the appropriate pressure washer nozzle should be chosen and attached to the sprayer.
Q: What is the best way to clean my home using a power washer?
A: It is recommended to start power washing at the bottom of the house and work your way up. The cleaning solution should be applied in a horizontal, side-to-side motion, and a 45-degree angle should be maintained when spraying roof overhangs and gutters. Lead-painted homes should not be power washed.
Q: How do I finish up the power washing process?
A: Once the power washing process is complete, turn off the pressure washer and disconnect it from the garden hose. Rinse the home’s exterior with plain water using just the garden hose to remove any soap residue. Remove any protective coverings or tape used. Allow the exterior to dry before painting.